

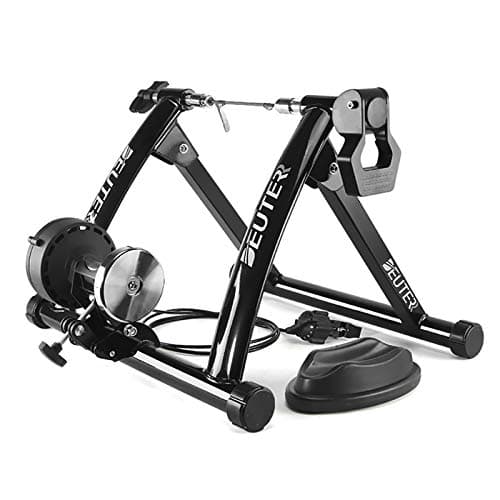
Who this is for: Best for cyclists who want an easy at-home training setup and need a stable, quiet way to ride indoors.
Check PriceWhat is How to Set Up an Indoor Bike Trainer? A Complete 2026 Guide
If you’re trying to figure out how to set up an indoor bike trainer, the hardest part is usually not the workout itself—it’s choosing the right setup, fitting your bike correctly, and avoiding noise or stability problems. This guide explains what an indoor bike trainer is, how it works, what to look for before buying, and how to get a safer, smoother setup at home. It’s based on product specs, published details, and owner feedback patterns—not hands-on testing.
Related Reviews
How It Works
An indoor bike trainer is a stand that holds your regular bicycle in place so the rear wheel can spin while you pedal indoors. Most magnetic trainers use a resistance unit pressed against the tire to create drag, and a handlebar-mounted lever lets you change resistance levels without stopping. In simple terms, it turns your outdoor bike into a stationary exercise bike, letting you train year-round regardless of weather, traffic, or daylight.
Setup is usually straightforward: you place the trainer on a flat surface, secure the rear axle or quick-release skewer into the trainer’s clamp, and adjust the roller so it presses correctly against the rear tire. Once mounted, you can shift resistance, warm up, do interval work, or ride steady-state sessions at home. Many models also include a front wheel riser block to level the bike and improve stability.
Key Benefits & Use Cases
Indoor bike trainers are popular because they let riders keep training when outdoor riding isn’t practical. They’re especially useful for winter training, rainy-day workouts, busy schedules, and riders who want structured exercise without commuting to a gym.
Best use cases
- Bad weather training: Keep riding when rain, wind, or snow makes outdoor cycling unpleasant.
- Time-efficient workouts: Start riding quickly without loading up for a road session.
- Fitness maintenance: Stay active between outdoor rides or during the off-season.
- Interval training: Use adjustable resistance to simulate hills and harder efforts.
- Indoor convenience: Train at home while watching video, listening to music, or following a workout plan.
What to Look For When Buying
If you’re learning how to set up an indoor bike trainer, the buying decision matters because the right trainer makes setup easier and the ride more stable. Here are the five most important criteria.
1. Compatibility with your bike
Check wheel size, rear axle style, and whether your bike is a road bike, mountain bike, or uses a thru-axle. Many trainers in this category work with 26–28-inch wheels and 700c wheels, but not all bikes fit the same way.
2. Resistance type and adjustability
Magnetic resistance is common because it’s simple and usually quieter than friction-based alternatives. Look for multiple resistance levels if you want more control over interval workouts or hill simulation.
3. Stability and frame design
A wide base, low center of gravity, anti-slip feet, and a pyramid-style frame can reduce wobble. Stability matters most if you plan to stand while pedaling or push harder during workouts.
4. Noise level
Noise depends on the trainer design, your tire choice, and your floor surface. Smooth or road tires generally run quieter than knobby mountain bike tires, and some trainers recommend using a mat or carpet underneath to reduce vibration.
5. Portability and storage
If you have limited space, a foldable trainer or one that comes with a carry bag can be easier to store between sessions. Quick-release clamps also make setup and removal much faster.
Top Recommended Products
Below are the best options from the provided list for readers who want a practical answer to how to set up an indoor bike trainer and want a trainer that’s easy to mount, adjust, and store.
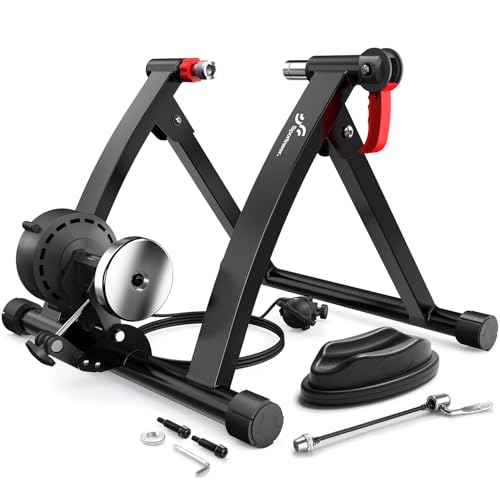 Sportneer Bike Trainer $104.99 ✓ Prime
The Sportneer trainer stands out for its broad compatibility, quick setup, and balanced feature set. It fits most road and mountain bikes with 26–28-inch or 700C wheels, and the included front wheel riser block helps make the bike feel level and stable.
- ✓ Fits most 26–28" and 700C bikes
- ✓ 6 resistance levels for varied workouts
- ✓ Quick-release lever simplifies setup
- ✓ Front wheel riser block included
- ✓ Wide base and anti-slip feet improve stability
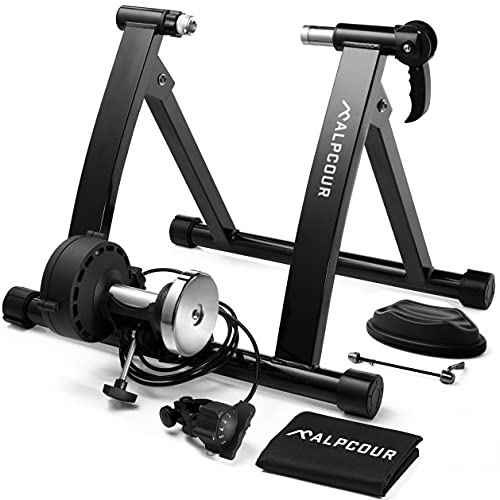 Alpcour Bike Trainer Stand $159.95 ✓ Prime
The Alpcour trainer is a strong pick if you want a portable, foldable option with a more premium build. It combines stainless steel construction, a carry bag, and a magnetic resistance system designed to keep noise and friction down.
- ✓ Foldable frame for easier storage and travel
- ✓ Magnetic resistance with 6 levels
- ✓ Stainless steel construction
- ✓ Includes front wheel riser block and carry bag
- ✓ Quick lever setup with no tools required
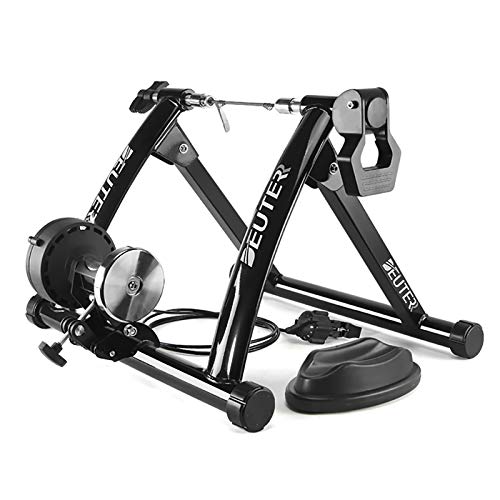 Bike Trainer, Magnetic Bicycle Stationary Stand for Indoor Exercise Riding $109.98 ✓ Prime
This model is a budget-friendly magnetic trainer with a folding frame and six resistance levels. It’s a practical choice if you want a simple setup and a stable platform without paying for extra accessories.
- ✓ 6 resistance levels
- ✓ Folding frame for storage
- ✓ Supports 26" to 29" wheels, including 700c
- ✓ Quick clamp setup
- ✓ 330-pound load-bearing claim
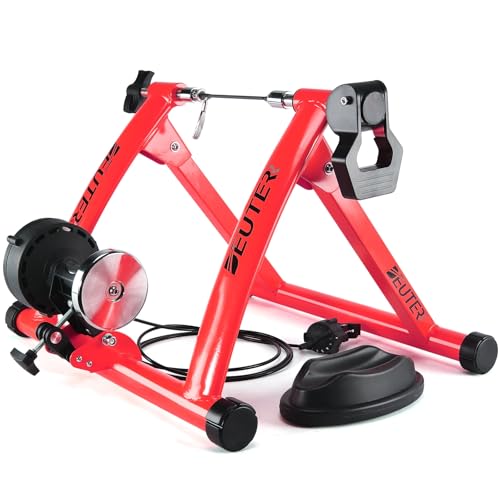 Bike Trainer, Magnetic Bicycle Stationary Stand for Indoor Exercise Riding $93.48 ✓ Prime
This is the lowest-priced option in the list and keeps the same core formula: magnetic resistance, folding storage, and compatibility with common wheel sizes. It’s best for shoppers who want an inexpensive entry point into indoor cycling.
- ✓ Lowest price in the group
- ✓ 6 resistance levels
- ✓ Folding design helps with storage
- ✓ Fits 26" to 29" wheels including 700c
- ✓ Quick clamp setup
Common Mistakes to Avoid
Even a good trainer can feel frustrating if it’s set up poorly. These are the most common mistakes people make when learning how to set up an indoor bike trainer.
Using the wrong tire type
Knobby mountain bike tires tend to be louder and less smooth on many wheel-on trainers. If possible, use a smoother tire for quieter indoor riding.
Not leveling the front wheel
Skipping the front wheel riser block can leave the bike tilted, which affects comfort and stability. A level setup usually feels more natural and secure.
Over-tightening or under-tightening the clamp
Too loose and the bike may wobble; too tight and you may make removal harder than necessary. Follow the trainer’s clamp instructions and check the fit before riding hard.
Ignoring floor protection
Without a mat or carpet underneath, vibration and noise can travel through the floor. A protective surface can also help keep the trainer from sliding.
Forgetting tire pressure and roller contact
Proper tire pressure and correct roller pressure matter for smooth operation. If the roller is too loose, the wheel may slip; too tight, and you can create excess wear and noise.
Frequently Asked Questions
How do I set up an indoor bike trainer for the first time?
Place the trainer on a flat surface, secure your bike’s rear axle or quick-release skewer into the clamp, install the front wheel riser block, and adjust roller contact until the rear tire spins smoothly.
Do I need a special bike to use an indoor trainer?
No. Most trainers work with common road and mountain bikes, but you should check wheel size and axle compatibility before buying.
Are indoor bike trainers noisy?
They can be, but noise depends on the trainer type, tire tread, floor surface, and how tightly the roller is set. Smooth tires and a mat usually help reduce noise.
Can I use a mountain bike on an indoor trainer?
Yes, many trainers support mountain bikes, but knobby tires often make more noise than road tires. Check the trainer’s compatibility notes before setup.
What resistance level should I start with?
Start low and increase gradually until the effort feels steady and controlled. For new users, a moderate setting is usually easier for balance and comfort while you learn the setup.
Pros
- + Fits common road and mountain bike wheel sizes
- + 6 resistance levels for varied workouts
- + Quick-release and folding designs simplify setup
- + Stable frames with anti-slip features
- + Prime-eligible options for faster delivery
Cons
- – Knobby MTB tires can be louder
- – Some bikes may need axle compatibility checks
- – Noise can still vary by floor and tire type
Frequently asked questions
- How do I set up an indoor bike trainer for the first time?
- Place the trainer on a flat surface, secure your bike’s rear axle or quick-release skewer into the clamp, install the front wheel riser block, and adjust roller contact until the rear tire spins smoothly.
- Do I need a special bike to use an indoor trainer?
- No. Most trainers work with common road and mountain bikes, but you should check wheel size and axle compatibility before buying.
- Are indoor bike trainers noisy?
- They can be, but noise depends on the trainer type, tire tread, floor surface, and how tightly the roller is set. Smooth tires and a mat usually help reduce noise.
- Can I use a mountain bike on an indoor trainer?
- Yes, many trainers support mountain bikes, but knobby tires often make more noise than road tires. Check the trainer’s compatibility notes before setup.
- What resistance level should I start with?
- Start low and increase gradually until the effort feels steady and controlled. For new users, a moderate setting is usually easier for balance and comfort while you learn the setup.
Get the Full Outdoor Buyer's Guide
Join our free newsletter — we'll send our latest Outdoor picks, specs and verdicts straight to your inbox.
Free. No spam. Unsubscribe anytime.
Was this review helpful?
Be the first to share your feedback on this review.
Sign in to vote and let us know what you think.
Discussion (0)
No comments yet. Be the first to start the discussion.
Related Reviews
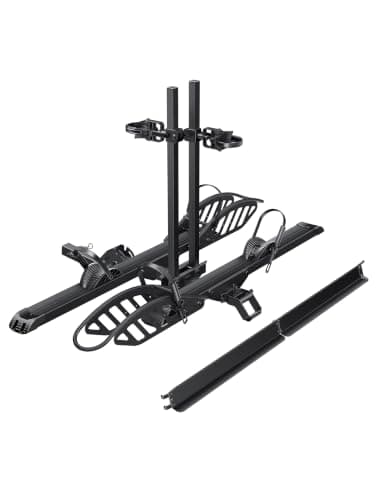
How to Choose the Best Bike Rack for Your Car in 2026: Complete Buying Guide
If you’re trying to figure out how to choose a bike rack for your car , the hard part is not finding options — it’s matching the rack to your vehicle, your bikes, and how often you actually travel. The most common mistake buyers make is choosing by price alone and ending up with a rack that blocks t
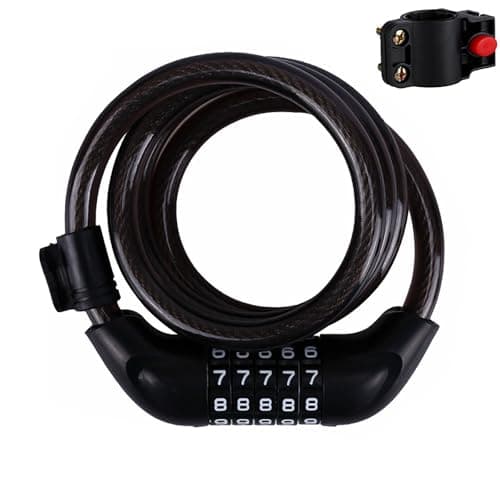
Best Cheap Bike Locks That Work for Every Budget in 2026: Ranked by Price & Performance
If you’re searching for the best cheap bike locks that work , the real challenge isn’t finding the lowest price — it’s finding a lock that’s cheap and actually useful for everyday deterrence. In this guide, I break down the most affordable option, the best step-up value, and the strongest pick in th
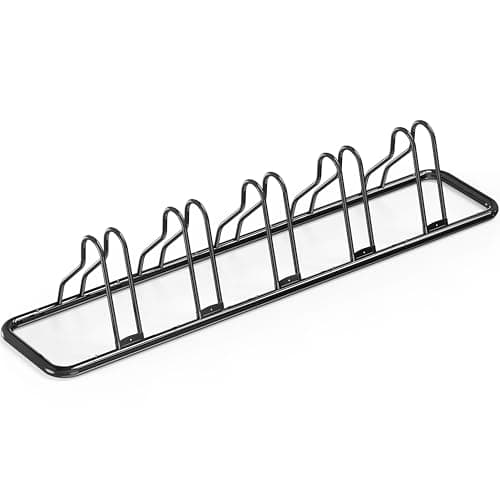
Simple Houseware 5-Bike Adjustable Floor Storage Rack for Garage, Black Review (2026): Specs, Pros & Cons, and Who It's For
The Simple Houseware 5-Bike Adjustable Floor Storage Rack is designed as a straightforward garage organizer rather than a premium bike-handling system. Based on the listed specs and owner feedback patterns common to this category, its biggest strength is the simple steel frame, which should offer be